
AUTHORING: Creating Song Files as Bink with RockBiink v. 2
Note: RockBiink v1 has been deprecated since the C3 Purge that happened December 30th, 2021, as we recommend the latest RockBiink edition available in our project. However, if you still insist on a guide for versions before version 2, click here to see the old RockBiink guide.
BIKs are media files created with Bink Video by RAD Game Tools. In this case they're the songs themselves. You'll find "Binked" songs in the Wii versions of Rock Band 2, LEGO Rock Band, The Beatles: Rock Band, Green Day: Rock Band, and Rock Band 3. In this guide, we'll use a tool made by StackOverflow0x to create multi-track audio files that we can use in Rock Band custom DLC.
Notes
Bink files are mainly for Wii custom songs as DLC. You can attempt to use BIK files with Playstation or Xbox customs, but playability is not guaranteed.
What You'll Need
- RAD Game Tools' free RAD Video Tools (Download from their website).
- StackOverflow0x's RockBiink v2, available in the Wii - vWii - Dolphin GitLab repo. It's actually possible to mix tracks into one file using the RAD Video Tools, but RockBiink is simpler to use and requires less guesswork.
- For Windows 7 or earlier, you'll also need QuickTime. Although Apple ceased further updates of QuickTime in 2016, you can still download the latest (and last) Windows version via their support pages.
RockBiink uses WAV files only, so if your song files are in OGG, MP3, or some other format, you'll have to convert them using Audacity or some other audio conversion software.
Use RockBiink to Make Your Bink Song File
If you already have RockBiink, make sure it looks like the one pictured below before starting. If it doesn't look exactly like this, then it's probably version 1 or older, and this guide will not help you.

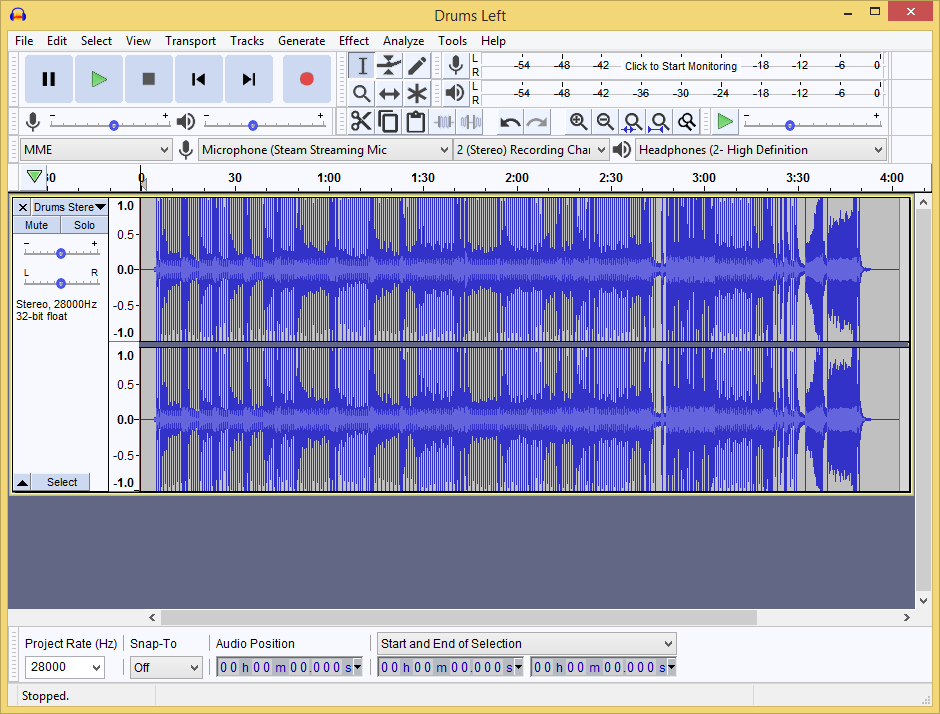
To start, select the tracks you need to enable. For each track, select the three dots on the right and navigate to the corresponding tracks, making sure to assign each track to the right instrument. It will automatically detect if it's a Mono or Stereo file - do NOT use a song file with more than two tracks! If you have such, you'll need to use Audacity to split the tracks. Stereo tracks should look like this:
If you have a mono or stereo WAV file, select File > Fill Instruments with Silence. This will place a blank WAV in every track. Erase the line(s) in the Backing track(s) and put your song there. You can put it someplace else, but the entire song will mute when you miss a note on whatever instrument you assign it to.
Choose the preferred sample rate and quality. A good rule of thumb for the sample rate is for it to match or be slightly lower than the sample rate of each of the WAVs you exported from Audacity. If you exported the WAVs in a small rate, choosing the same or somewhat lower rate in RockBiink will make it likelier for the end result to be smaller than the 40MB limit for BINs. As for the quality, the recommended option is the default, which is "Good", but you can choose from "Very Good" to "Poor" depending on how large the files are already. Optionally, you can add the songs.dta file you will be using for this song and choose the song out of a list. If the DTA is properly formatted, the (song ... ) section will be updated.
After making sure everything is correct, check binkc (if you're using an older version of the RAD Video Tools, you may want to try bink instead) and select the Create Bink File button. Save your list somewhere (perhaps the songname folder?), and then choose "Yes" if it asks you to run it. RAD's Batch Bink Compressor will open; select Start to run it. It will then make a usable songname.bik you can use in customs!
Notes:
If you ever need to make another songname.bik, simply double-click on the songname.rlst file to run the batch program again.
Common Mistakes
Your song may stutter or have "scratchy" sounding instrument parts if the WAVs are too large. This is usually due to a bad conversion. One reason for this is when exporting in Audacity, you might choose Split Stereo Track. While not explicit on its function, Audacity assumes that the tracks you split will still come out stereo. For example, if you split a stereo drum track after mixing, the Left Drums will come out of the left and export to stereo, adding silence to the opposite side of the track. Thus, always choose Split Stereo to Mono, or else you'll have to manually pan the tracks to the center before exporting.
If you're not able to update the songs.dta with RockBiink, you'll have to edit the DTA manually to make sure that there are no more than two tracks for each instrument.
You may think that you can make a preview BIK this way, in place of a preview MOGG, but typically this results in a larger file. Save your preview in Audacity as an OGG and convert with OGG2MOGG.
Since BIKs can be larger than MOGGs, you need to watch the file size to make sure it's not over the 40 MB limit for SD card importing. Try adjusting the sample rate or quality to a lower value. A good rule of thumb is to keep your BIKs at most 35 MB.